Keep a cube is a fun engineering challenge that asks kids to keep an ice cube from melting. This activity is a perfect team building activity to build children’s critical thinking and communication skills. This project idea came from DiscoveryE.org with a few tweaks to make it perfect for school-age children. I ran this activity indoors to maintain a consistent environment but you could easily take this project out doors. In fact, if you want to make it extra challenging run this experiment outdoors on a hot day!
Supplies For Keep A Cube Challenge
- Ice Cubes
- Zip Top Baggies
- Small cardboard boxes
- Cardboard tubes
- Tin foil
- Wax paper
- Tape
- Paper
- Rubber bands
- String
- Craft sticks
- Egg Cartons
- Any other materials you have on hand
Setup the Challenge
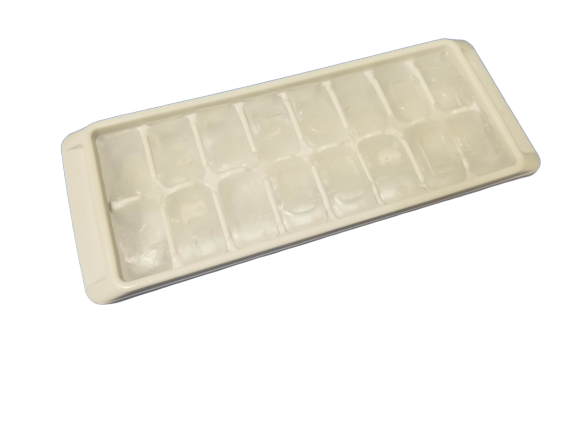
A day before the Keep A Cube Challenge fill an ice cube tray and place it in the freezer. The next day right before the activity break the ice cubes out of the tray and put each one into a zip-top bag. Make sure the top is securely closed. You want to use a tray to make the ice cubes so that they are all the same size and have equal amounts of water in each cube.
Set out the rest of your supplies and split kids into teams or groups.
How to run the Keep a Cube Challenge
Give each group of kids one bag with an ice cube inside. Explain that it is their job to keep the ice cube from melting.
Show the kids the supplies they can use to create a contraption that will keep the ice cube from melting. As you talk, the ice has already to begin melting, this adds an element of urgency to the activity. Give the kids 2 minutes to develop a plan before they touch the supplies.
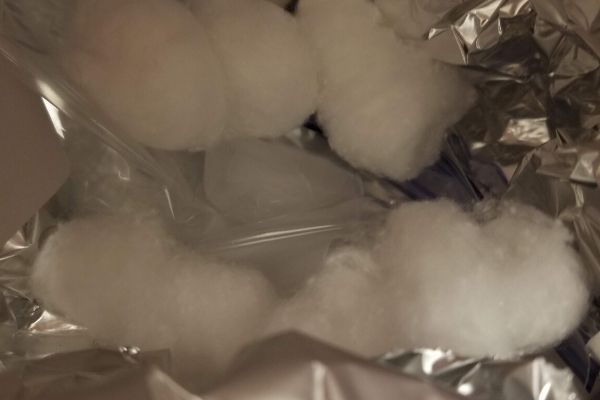
After 2 minutes allow the kids to start building. As they build, they will inevitably want to check on the ice cube, and they will be in a constant state of improving their contraption. While they are working add some discussion to keep them brainstorming and on task.
Some discussion questions:
- What happens when you open and close the freezer often? Does it stay as cold or does it warm up?
- Does the size of the contraption make a difference?
- Do layers of different materials affect the ice cube differently?
- Does adding layers to the outside of the contraption keep it cold or make it warm on the inside?
Measure the Results of the Keep a Cube Challenge
After 45 minutes – an hour. Have kids remove their ice cube from the contraption they built and dump the water into a cup, dish or any vessel that will hold the ice cube juice, aka, water. Have them keep whatever is left of the ice in the bag, you are only interested in the water that has melted.
Ask each group to present their ideas and the processes they tried while engineering their keep a cube contraption. After each group presents measure the amount of water in their dish. I used a fun plastic syringe and had the kids measure themselves. The team with the least amount of water in their dish is the winner.

My Experience
While this activity has a “winner” many kids just enjoy the process of constant brainstorming and readjusting their approach to find what works best. Others simply made a basic contraption and let it sit for the entire 45 minutes without touching or changing anything. Either way, kids enjoy this activity and it uses only basic materials you have on hand.

You have no idea how much your blog is helping me as I organize and develop our after school program! The kiddos are loving Teamwork Tuesdays! I was excited to see a new activity posted, though I still have so many of yours to try out!
I meant to say website, not blog. 🙂
It makes me so happy to hear that you are finding value in the website. I took a little break from posting new activities when my daughter was born in August, but you can expect to see more consistent posts from me going further. So glad that teamwork Tuesday has been a hit!